You and your designer have chosen the perfect location for your new pool—now our experienced crews bring it to life. At 2012 Construction & Pools, we install vinyl liner pools, gunite (concrete) pools, and fiberglass pools across Central Virginia. Use this guide to understand what happens at each stage and what we may need from you along the way.
What to Expect During Pool Construction
Building an inground pool can temporarily disrupt your routine. You’ll see excavation equipment, soil removal, and a worksite that can look messy at times—this is normal and part of the process. Our goal is to move efficiently, communicate clearly, and complete your pool according to contract (barring unexpected site conditions).
Scheduling note: Our crews are scheduled by construction phase. It’s normal to see activity in waves rather than every day. Your Construction Manager will check progress regularly.
Step 1: Layout Meeting and On-Site Coordination
Once the site is ready, we mark the pool location using stakes/boards/lines. Please make sure you are available for this phase because key decisions are made here which affect every step that follows.
Virginia 811 (call before you dig)
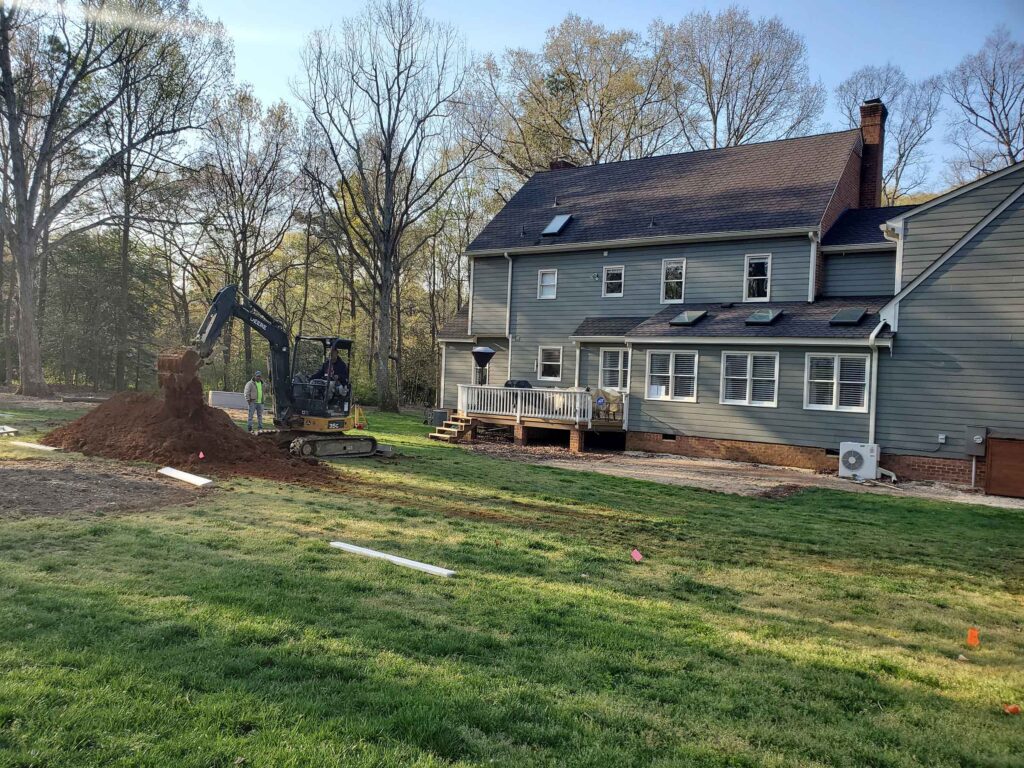
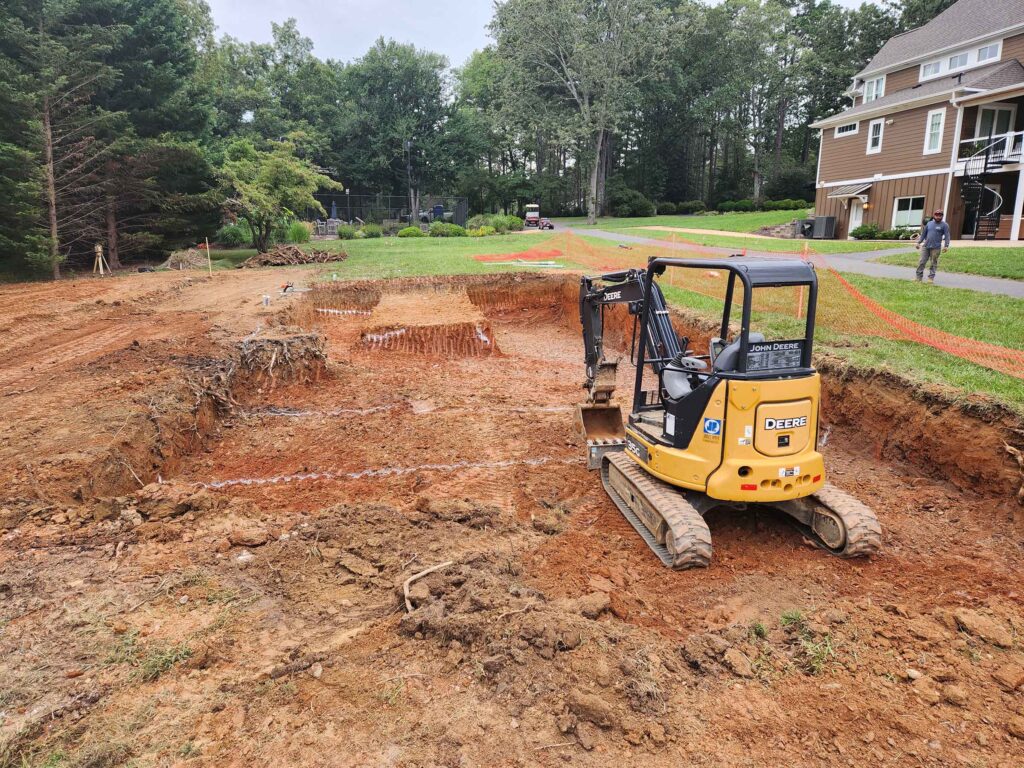
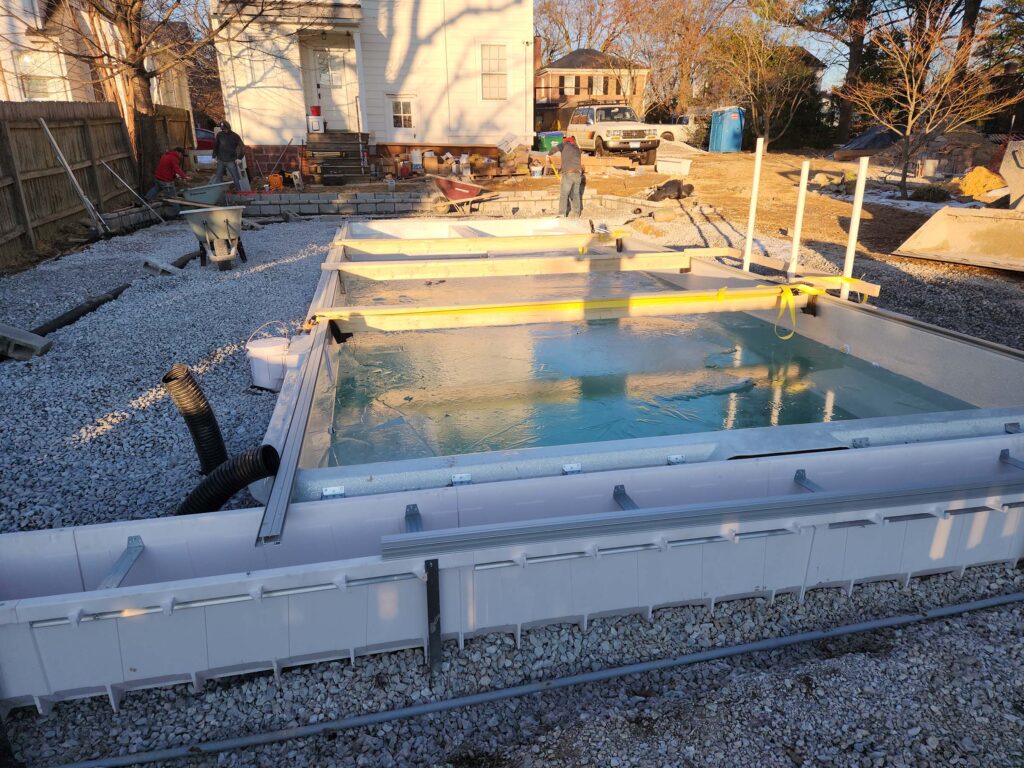
Step 2: Excavation for Pools
We excavate to the planned dimensions and manage soil per your contract (haul away or stockpile on site). With typical soil and access, excavation is usually completed in 1–2 working days once we break ground on our beautiful pools. If we uncover obstacles (rock, debris, water issues, etc.), we’ll review options with you since changes can impact cost and timeline.
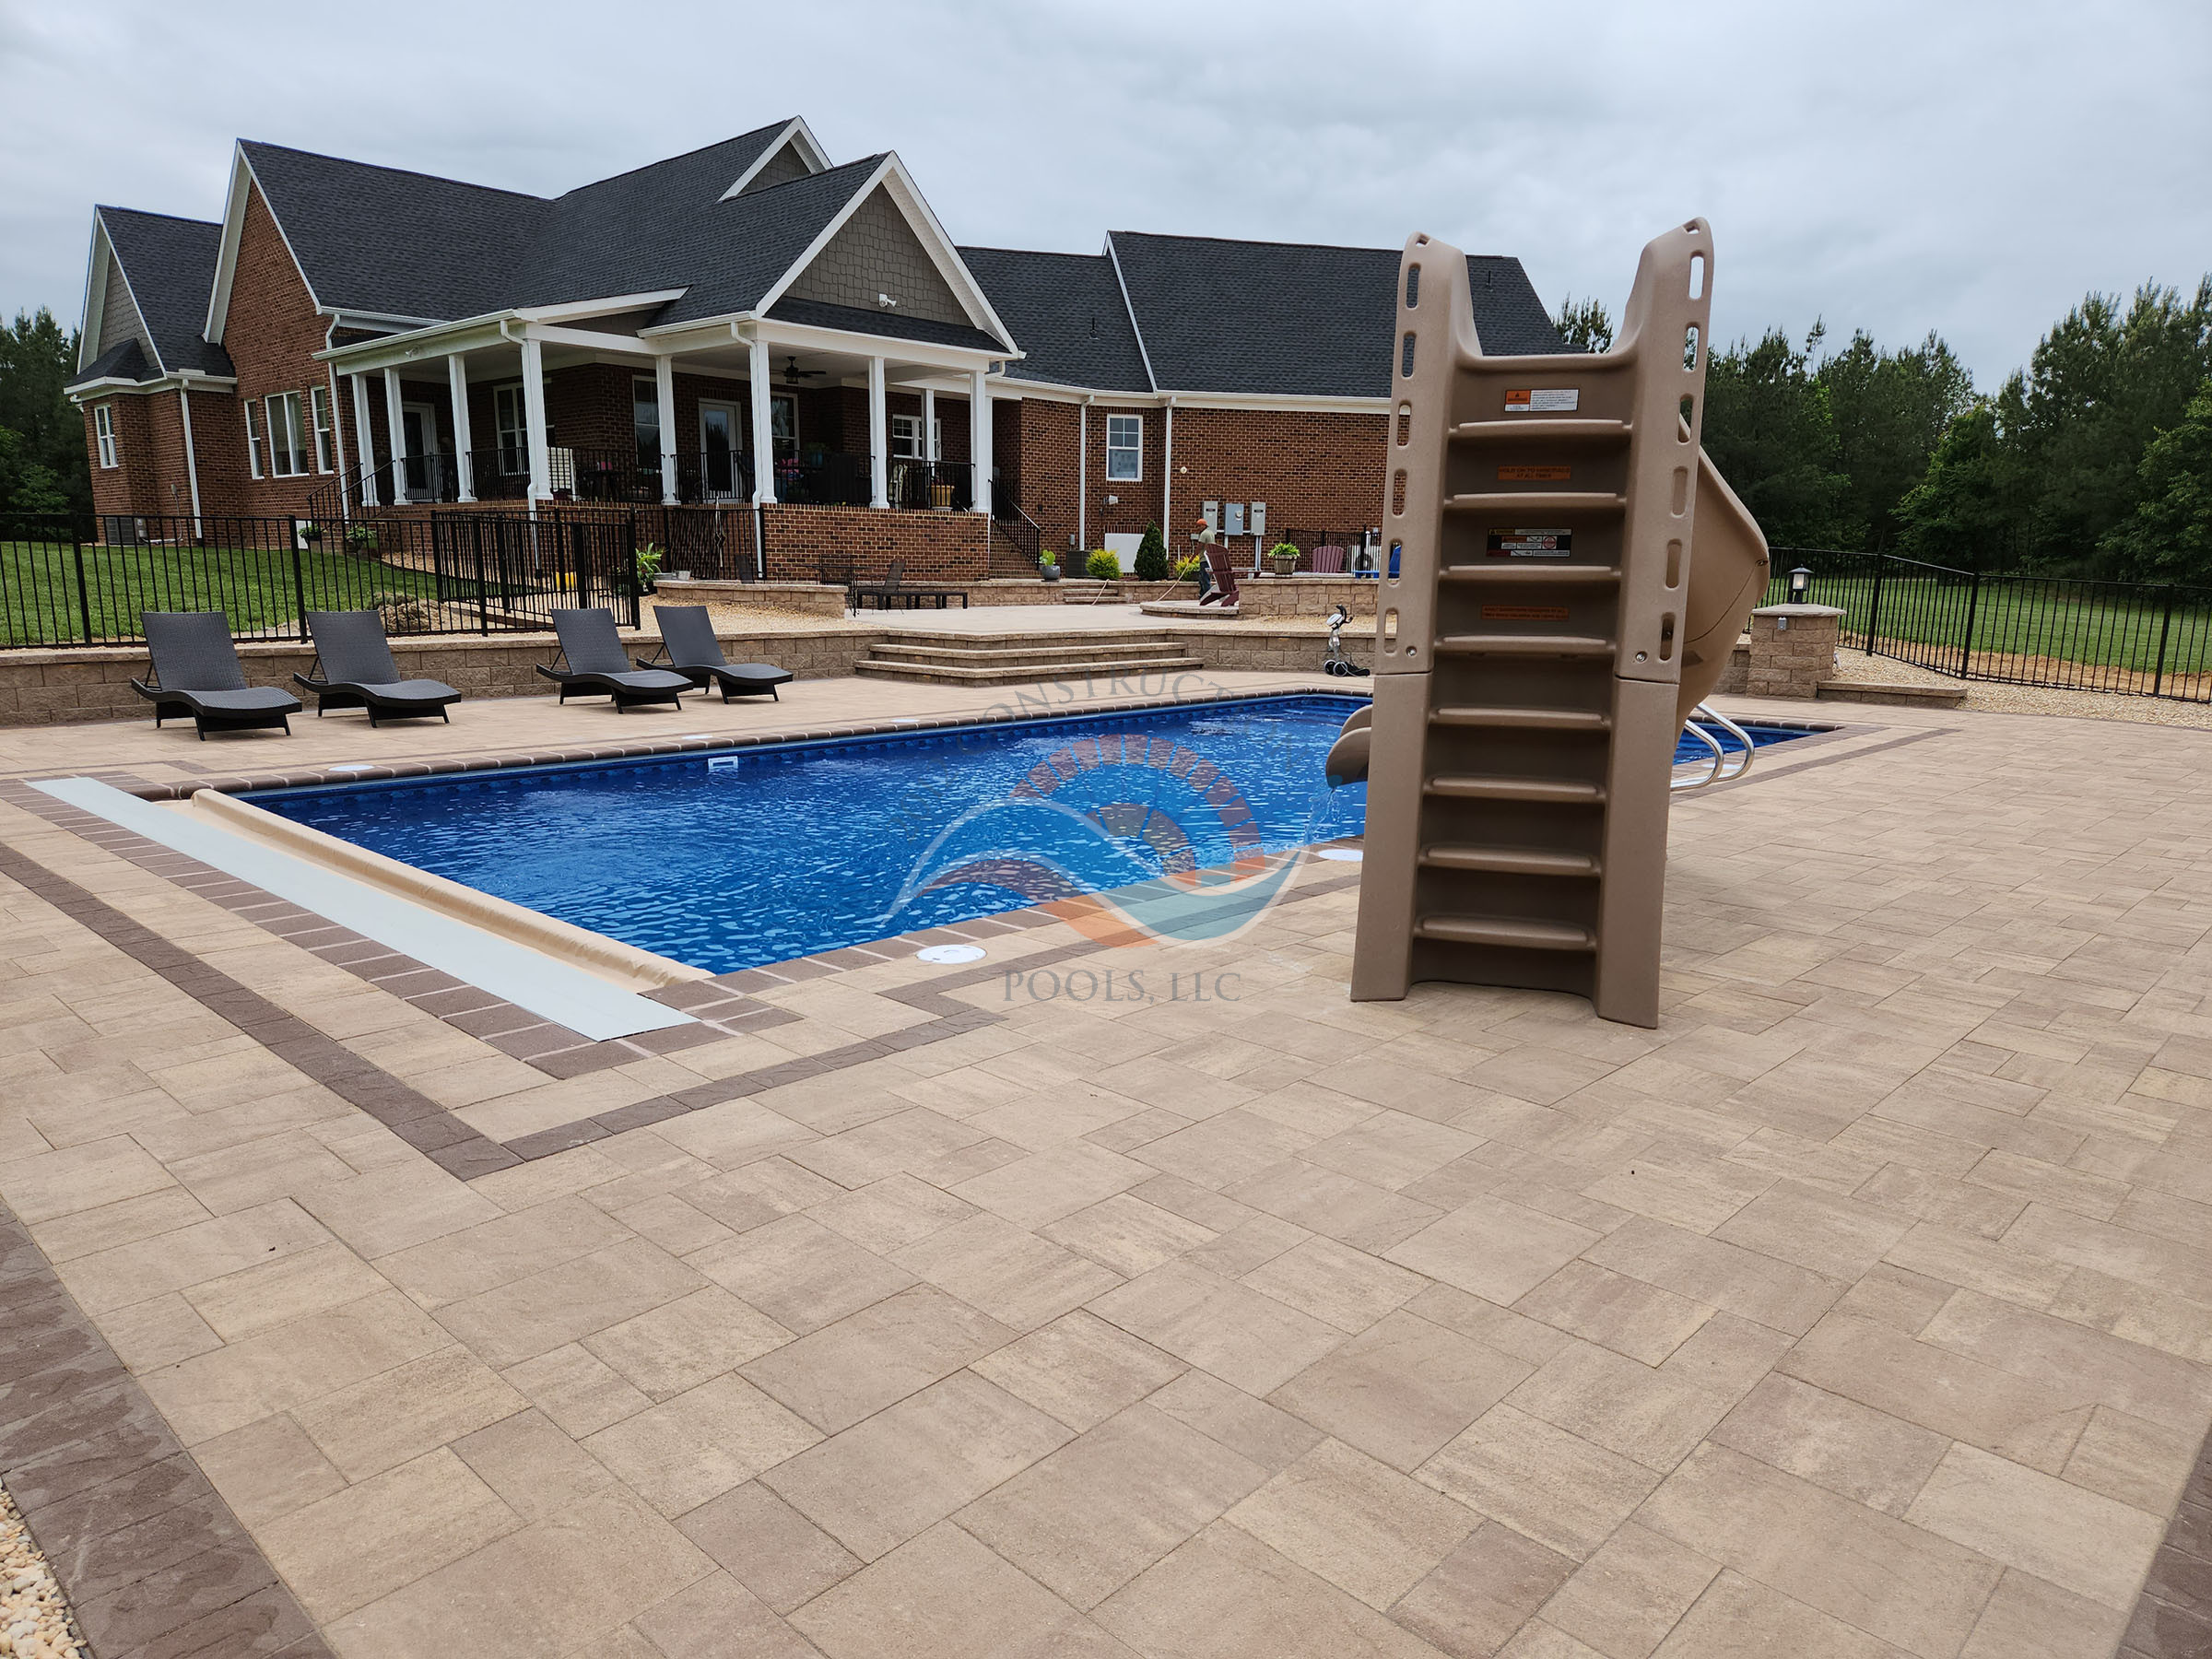
Step 3: Pool Structure (Vinyl, Gunite, or Fiberglass)
We build the pool structure based on the type you selected:
Vinyl Liner Pools Construction
After excavation, we assemble and level wall panels and install stairs. A concrete collar is poured around the perimeter to secure the structure for the remaining phases.

Gunite (Concrete) Pools Construction
For gunite pools, we coordinate the structural phase (including steel where required) and prepare for concrete application and curing before finishing and startup.

Fiberglass Pools Installation
For fiberglass pools, we coordinate shell delivery and placement, then proceed with plumbing, backfill, and equipment setup.
Step 4: Plumbing and Equipment Setup
We install plumbing lines from the pool to the filter system, including drain line(s), return line(s), fittings, and skimmers. Plumbing is pressure-tested to verify there are no leaks before moving forward.
Contractor License Lookup
https://www.dpor.virginia.gov/licenselookup
2012 Construction & Pools LLC
Step 5: Electrical Coordination and Permitting
Electrical work can begin after the appropriate structural phase is complete. Please have your electrician contact our Construction Coordinator once the electrical permit is submitted so we can coordinate schedules.
Step 6: Required Door Alarms for Pool Access
Any door on this wall with direct access to the pool must have a hardwired or battery alarm that sounds immediately when the door (and any screen door) opens. The alarm must be audible throughout the home, sound continuously for at least 30 seconds, and automatically reset. A one-time temporary bypass is allowed for a single opening (no more than 15 seconds), with controls installed at least 54 inches above the threshold.
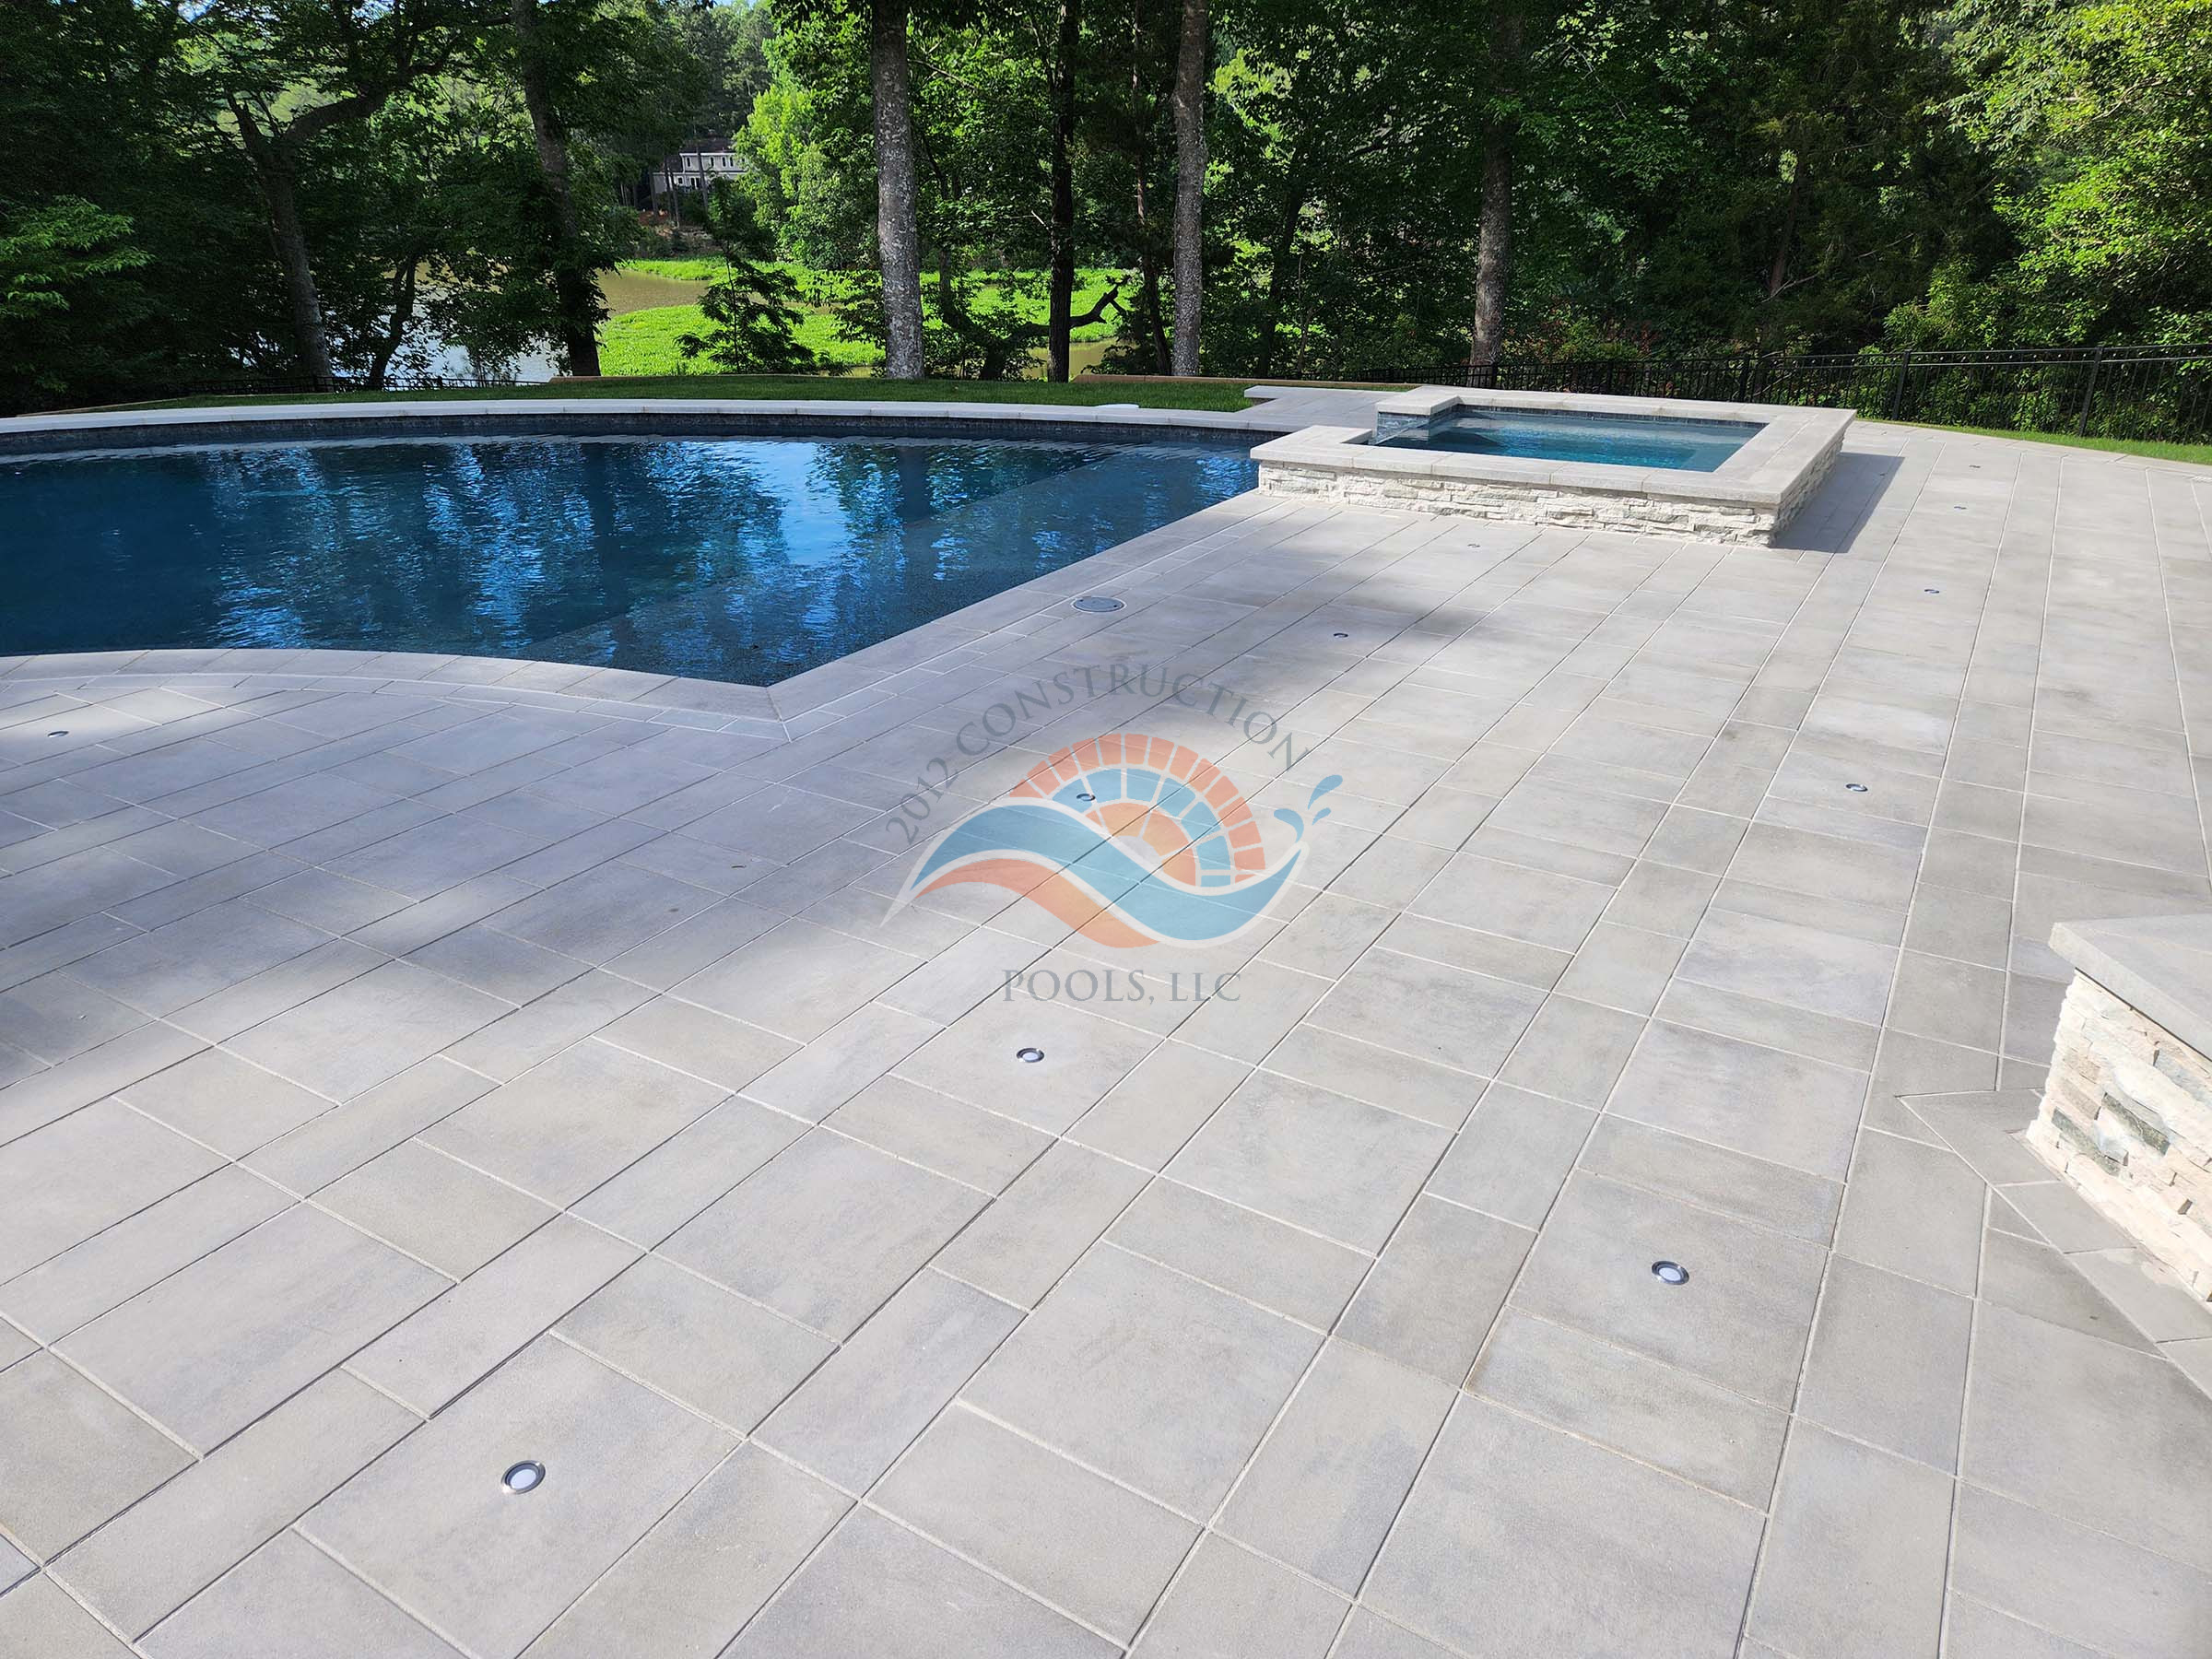
Step 7: Water Balance, Startup, and Owner Orientation
After the pool is filled and water chemistry is balanced, your designer will schedule a walkthrough to teach you how to operate your filtration system. You’ll also receive warranty information and equipment documentation for your records.